
Appointment Statuses
-
Appointment Statuses are system-defined and cannot be created or modified by users. If you need to classify appointments with your own custom labels (e.g., “VIP”, “Initial Consult”), please use Appointment Flags instead.
-
Only the Confirmed and Cancelled statuses can be updated automatically based on client replies to appointment reminders; all other statuses must be applied manually by Zanda users.
-
Reminders: Automatic appointment reminders are sent to appointments with Pending or Confirmed status. Appointments in other statuses do not receive automatic reminders.
For each of the system statuses, there is a corresponding colour. The corresponding colour will appear in the strip to the left of the Appointment Details.
- Pending status color: Light Blue
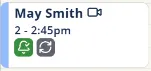
- Confirmed status color: Lime Green (Manually set, or automatically updated when a client replies ‘Yes’ to an SMS reminder)
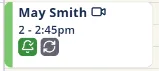
- Arrived status color: Yellow
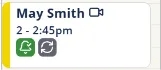
- Completed status color: Dark Green
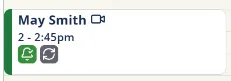
- Rescheduled status color: Purple
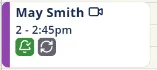
- Cancelled status color: Red (Manually set, or automatically updated when a client replies ‘No’ to an SMS reminder if configured)
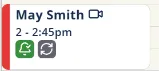
- Late Cancellation status color: Dark Red
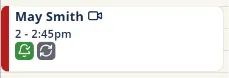
- No Show status color: Yellow Ochre
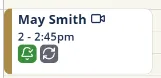
Rescheduled, Cancelled, Late Cancellation or No Show:
If the appointment has a Service, selecting any of these options will ask whether you’d like to remove their Service and delete the associated invoice.
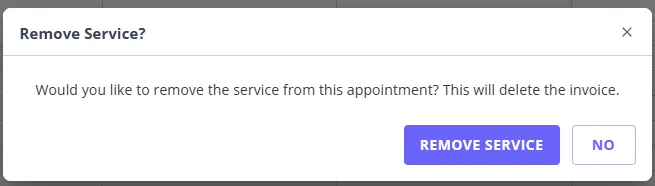
Appointments with these statuses;
- Are still seen in the calendar to follow up with the client or levy a cancellation charge.
- Will reopen that time slot for another client to book online via your Client Portal.
- Will be tracked on each Client’s Statistics page, along with specific Client Reports.
Note: If an Appointment Cancellation Template is configured under Account Settings > Communication > Reminders, changing a future-dated appointment to Cancelled or Late Cancellation might also send an automatic cancellation notification to the client. See Configuring Appointment Reminders.
Symbols
Current Time Indicator - Red Line
You may see a horizontal red line with a small triangle on your calendar view.
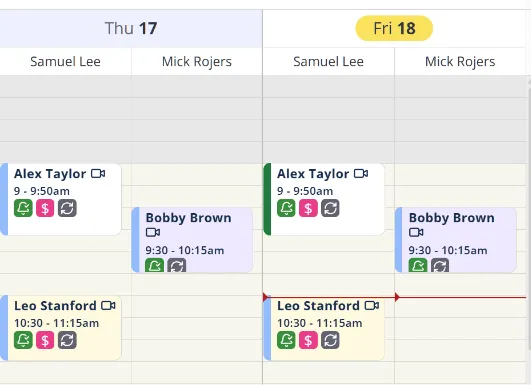
- Meaning: This line indicates the current time of day. It moves down the calendar automatically as the day progresses.
- Function: It separates “past” time (above the line) from “future” time (below the line).
- Removal: This is a permanent system feature and cannot be removed or hidden.
- Scheduling: You generally cannot click directly on or above this line to book an appointment if your system prevents booking in the past.
Bell 🔔
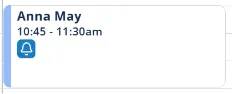
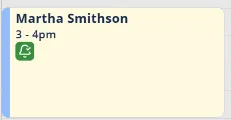
The Bell symbol will let you know the status of the Appointment Reminders for that particular Appointment. The colour of the Bell will indicate its status.
-
Reminder was not sent - Bell icon color grey
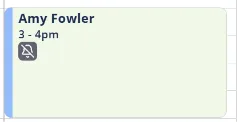
-
Reminder will not be sent - Bell icon color dark yellow
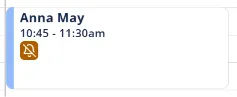
-
Reminder will be sent - Bell icon color blue
-
Reminder sent - Bell icon color green
-
The Bell only appears on appointments booked for a client. Blocked-out time and other non-client calendar entries don’t get a Bell, even if they show other calendar symbols.
-
A grey Bell can also mean the appointment’s status doesn’t qualify for reminders yet. Automatic reminders are only sent for Pending or Confirmed appointments (see the Reminders note under Appointment Statuses above). If an appointment is in another status, such as Arrived or Cancelled, and hasn’t had a reminder sent, it shows the same grey Bell as a reminder that simply hasn’t gone out yet.
-
Removal: The Bell reflects your appointment’s live reminder status and cannot be hidden or turned off —it always shows on client appointments.
Red Currency Sign
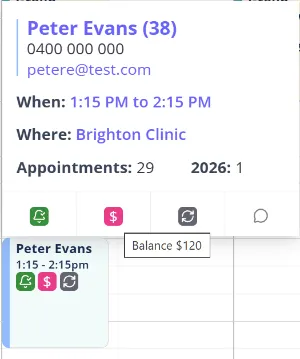
- This indicates there is a balance due on the client’s account. You can see the balance in the Appointment Details next to the associated invoice or hover over the icon as seen below.
- The icon only shows while a balance is owing. Once the client’s account balance is fully paid, or moves into credit, the currency sign disappears from that client’s appointments entirely; it doesn’t change color or switch to a separate “paid” version. Because this balance covers the client’s whole account rather than one invoice, paying it off can make the icon disappear from several appointments at once.
- This Account Balance covers the client’s whole account, not just the one invoice shown here: it totals every active invoice’s outstanding amount, then subtracts any payment the client has made that is not yet applied to an invoice. Because of that second part, Account Balance can differ from what a specific invoice shows as owing, and it can even show as a negative number (a credit) while every invoice on the account reads $0.00.
- For a specific invoice’s own balance, go to Billing > Invoices. If Invoices shows $0.00 but the Account Balance here is negative, the difference is an unallocated payment: go to Billing > Payments instead and check the Unallocated column. From there, you can apply the credit to a future invoice, or refund it if it needs to leave the account. See Adding and Managing Payments.
- Removal: This icon can be turned off. Go to User Menu > Account Settings > Schedule > Calendar Display and switch off Show Unpaid Balance Icon on Appointment, see Editing Your Calendar Display for the full walkthrough. It’s on by default, which is why the icon shows unless someone has already turned it off.
Recurring Appointment Badge
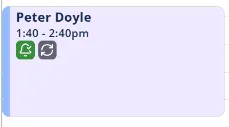
Recurring appointments show a small icon badge with a refresh arrow.
- Meaning: This appointment is one of a series of recurring appointments. If you edit that appointment, the system will ask if you want to make that change to all recurring appointments associated with that series.
- Removal: The badge can’t be removed while the appointment is part of a recurring series, it isn’t decorative, it reflects the appointment’s actual recurring status. To stop it appearing on a specific appointment, remove that appointment from the series.
Accessing the Legend
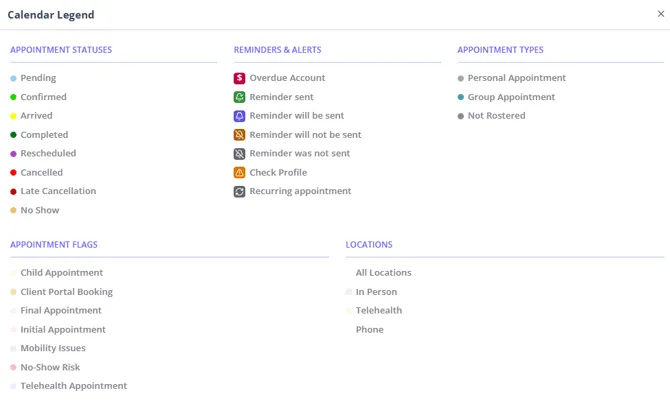
In addition to this support article, you’re also able to navigate to a dialog that showcases all these statuses, flags and colours at-a-glance, including any custom appointment Flags and Locations which you have set up in your system.
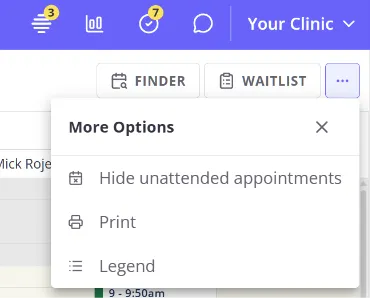
- To access the calendar legend, open More Options (the three-dot icon at the far right of the calendar toolbar, next to Time Finder and Waitlist) and select Legend. See Navigating the Calendar Display for the full toolbar layout.
- Here’s an example of what the Calendar Legend might look like, depending on your account settings:
Frequently Asked Questions
Can I rename Rescheduled to Completed or make Rescheduled appointments count as Completed?
Appointment status names are system-defined, so each appointment keeps the status you select from the appointment details. Use Completed for appointments that should be treated as attended or completed in reports, and use Rescheduled when the original time was moved and you want to keep a record of the released time slot.
For custom labels or internal categories, use Appointment Flags. Flags can have custom names and colours, but they sit alongside the appointment status rather than changing how the appointment status is counted.
Why don’t some of my appointments have a Bell icon?
The Bell only shows on appointments booked for a client. Appointments that aren’t tied to a client, like blocked-out time, never display a Bell.
Can I hide or turn off the Bell icon?
Not at this time. The Bell is a fixed part of the calendar view, the same as the current time indicator, and there’s no account setting to remove it.
Can I turn off the icons on my appointments (Bell, Currency Sign, or Circular Arrows)?
You can turn off the Currency Sign: it’s controlled by the Show Unpaid Balance Icon on Appointment setting under User Menu > Account Settings > Schedule > Calendar Display. The Bell and Circular Arrows icons reflect live appointment data (reminder status and a recurring series) and can’t be hidden or turned off. Private Mode and Hide Unattended Appointments control other parts of the calendar view, but not these icons.
Can I make new appointments start as Confirmed instead of Pending?
Not directly, there’s no account setting that changes a new appointment’s starting status. Every new appointment, including recurring appointments and appointments booked through the API, is created as Pending.
To move appointments to Confirmed automatically, turn on Automatic Appointment Confirmation/Cancelation with an SMS message as an action: when a client replies “Yes” to an SMS reminder, Zanda updates that appointment to Confirmed for you. Otherwise, update the status manually from the appointment.