
You can update your clinic information at any time. These changes will apply to new invoices and, in many cases, will also reflect when viewing or reprinting past documents.
💡Pro Tip: If you’re rebranding, make sure you have your new business logo ready as an image file before making updates.
Update Your Business Information
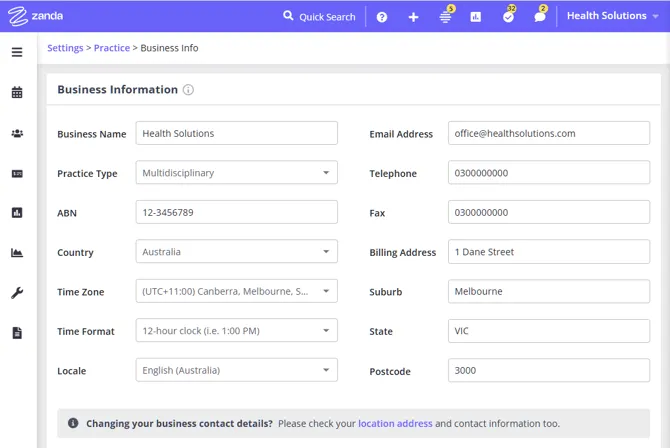
Your primary business details—such as your clinic name, Tax ID/ABN, and contact information—are used across your account.
To update your business information:
- Go to User Menu(click your business name at the top-right) > Account Settings > Practice > Business Info
- Update any of the following fields:
- Business Name
- Tax ID / ABN
- Country
- Business Address
- Time Zone and Locale (if applicable)
- Update your contact details, including:
- Email address
- Phone number
- Fax number
- Click Save Changes
Update Practice Billing Provider Information (US)
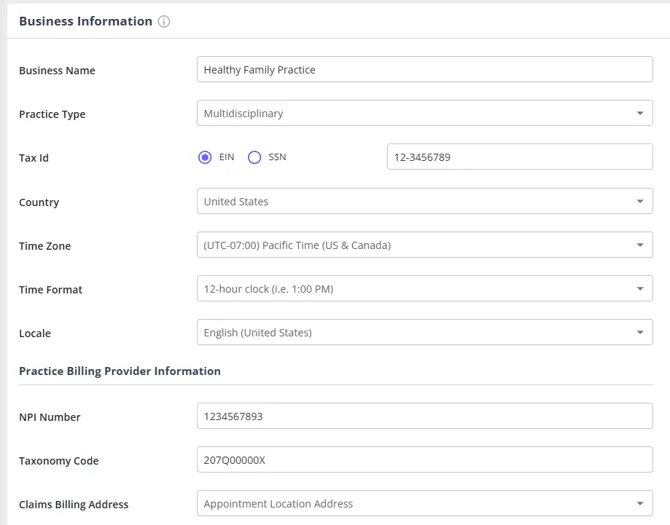
If your account is set to the United States, you will see an additional section on the Business Info page.
Here, you can enter:
- Organization NPI number
- Taxonomy code
- Claims Billing Address preference for box 33 in integrated insurance claims
These details are used for billing and insurance-related workflows.
Managing Clinic Locations
You can manage multiple clinic locations, including adding, editing, deactivating, and reactivating them. Each location can have its own name and contact details, but Tax ID/ABN is set once for the whole account in Business Info above.
Go to: User Menu > Account Settings > Practice > Locations
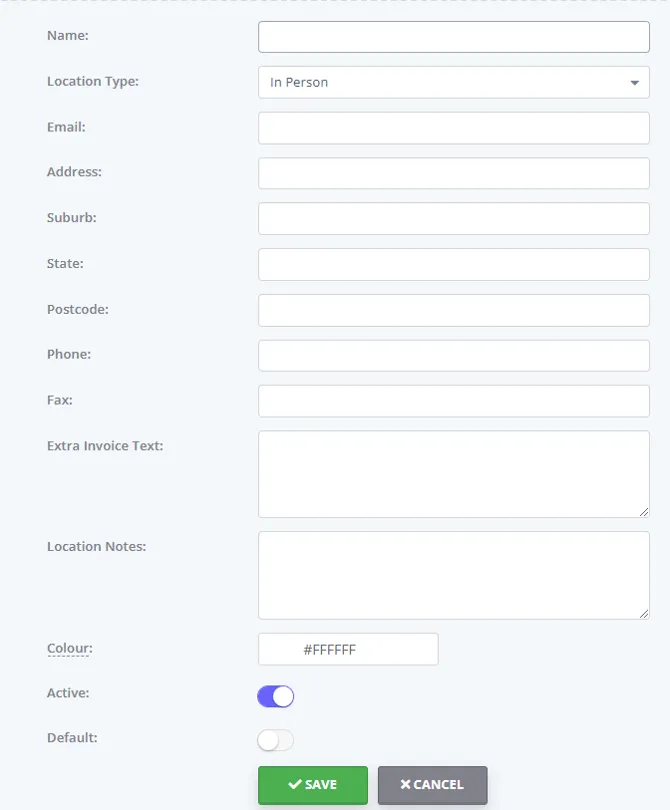
Add a new location
- Click + Add Location
- Enter the location details
- Fill in as many fields as possible (you can update them later)
- Click Save
Your new location will appear in the list.
Note: The Extra Invoice Text field will appear on all invoices—past and future—when they are printed or emailed.
Edit an existing location
- Click on the location name
- Update details such as:
- Business Name
- Address
- Contact Number
- Click Save
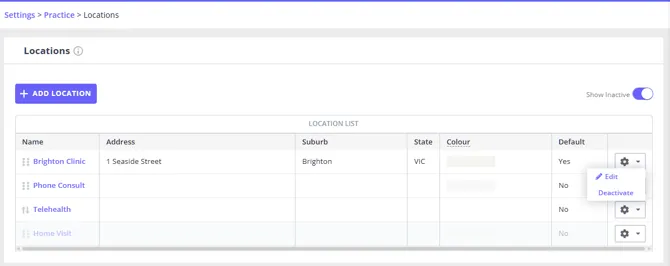
Deactivate a location
- Click the gear icon next to the location
- Select Deactivate
Reactivate a location
- Turn on Show Inactive
- Click the gear icon next to the inactive location
- Select Activate
The location name will turn blue once reactivated.
Important Note: If you update your business information or location details, these changes will appear on invoices—including past invoices—when they are viewed, printed, or emailed.
Update Your Documents and Client Portal Logos
You will need to replace your old logo on any generated invoices, documents, and on your Client Portal.Changing your Documents Logo.
Your Documents Logo appears on invoices, statements, forms, and session notes. It does not appear on letters generated from a Letter Template.
Note: To add a logo or letterhead image to your letters, insert it directly into your Letter Template instead. See Creating and Managing Email, SMS and Letter Templates for how to use the Insert Image button in the template editor.
-
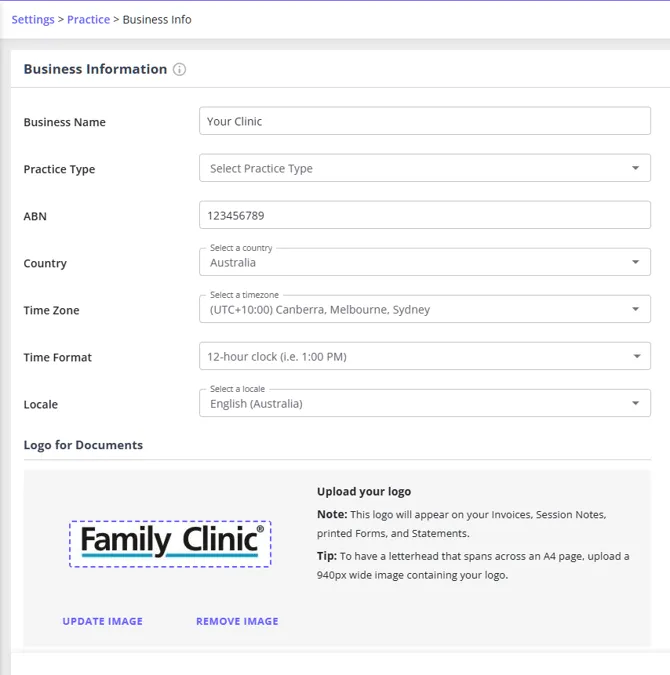
Go to User Menu > Account Settings > Practice > Business Info.
-
Locate the Documents Logo section and click the Update button under the current logo image.
-
Select your new logo file from your computer to upload it.
-
Click Save Changes.
Changing your Invoice Layout
-
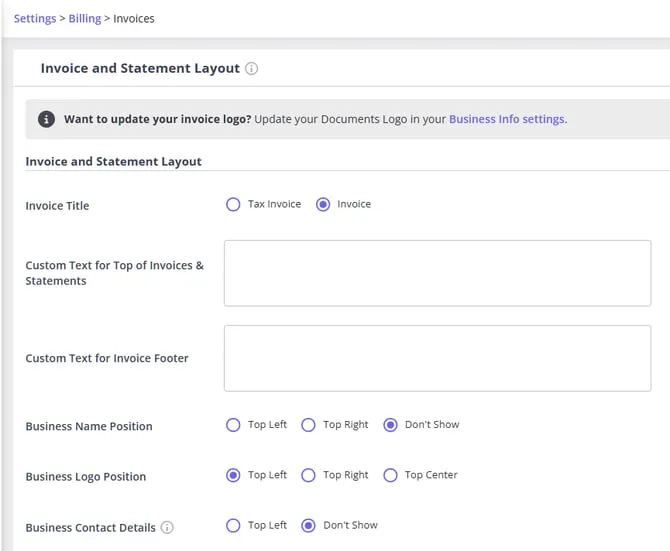
Go to User Menu > Account Settings > Billing > Invoices.
-
Scroll down to the Custom Text For Invoice Footer and Business Name and Logo Position fields.
-
Update any text that still contains your old business name.
-
Click Save Changes.
Client portal and online forms logo
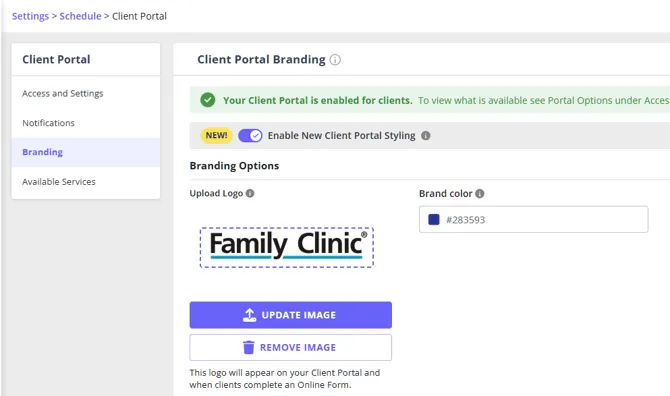
- Go to User Menu > Account Settings > Schedule > Client Portal > Branding
- Click Update Image
- Upload your logo
- Click Save Changes
This logo appears on:
- Client Portal
- Online Forms
- Online Payments accessed vial paymen links
Client portal header image
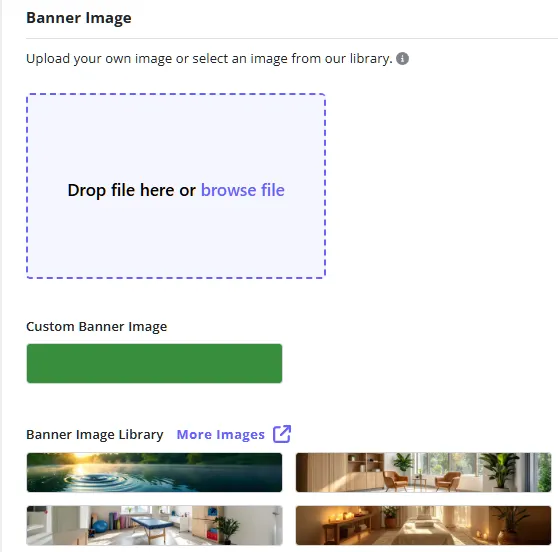
While you’re on the same User Menu > Account Settings > Schedule > Client Portal > Branding page, you can also update your header image for a more complete look.
- Upload a header/banner image
- Save your changes
This image will appear on your client portal home page when clients log in.
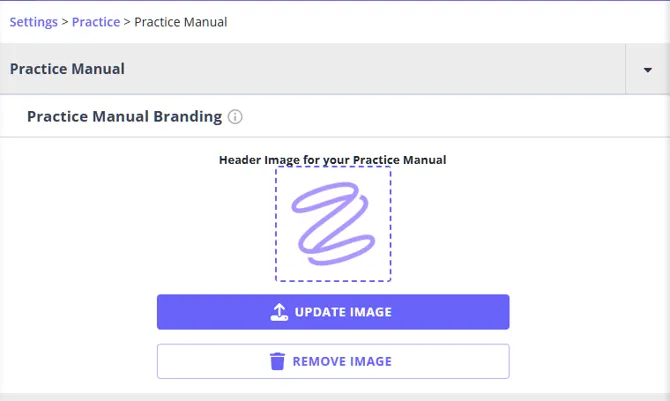
Practice manual branding
Go to User Menu > Account Settings > Practice > Practice Manual > Branding
Upload or update your logo for use in Practice Manual documents.
Update Communication Templates
To ensure your communications reflect your updated branding:
- Go to Tools > Communication > Templates
- Edit each template
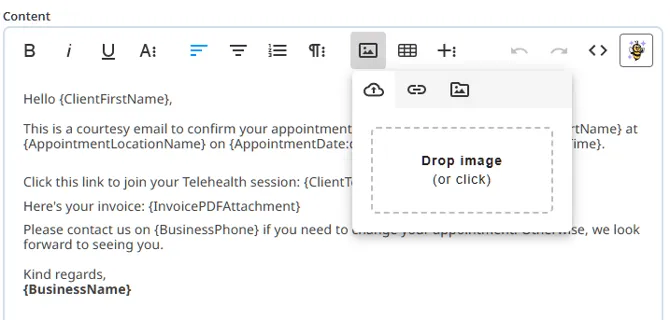
- Replace logos if inserted manually using the image tool
- Update business name references in the content box
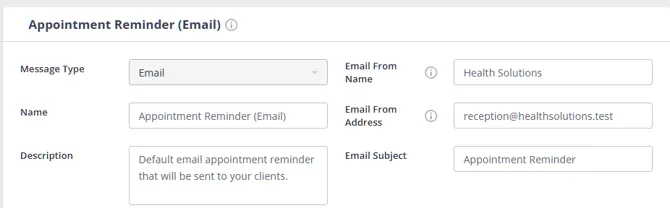
- Update Email From Name and Email From Address in each template setting
Update User Logins
If your team has new email addresses for your rebranded business, they should update their login details.
- Log in
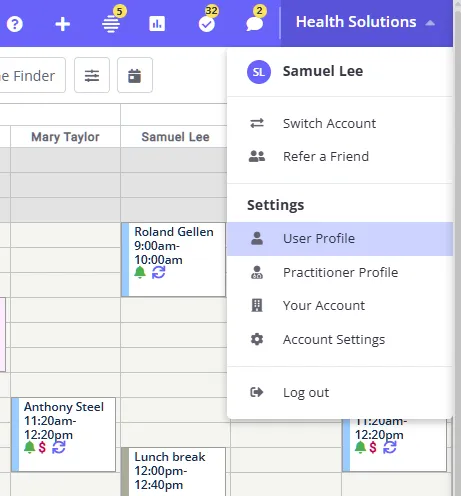
- Click the business name (top-right) to upen ther User Menu
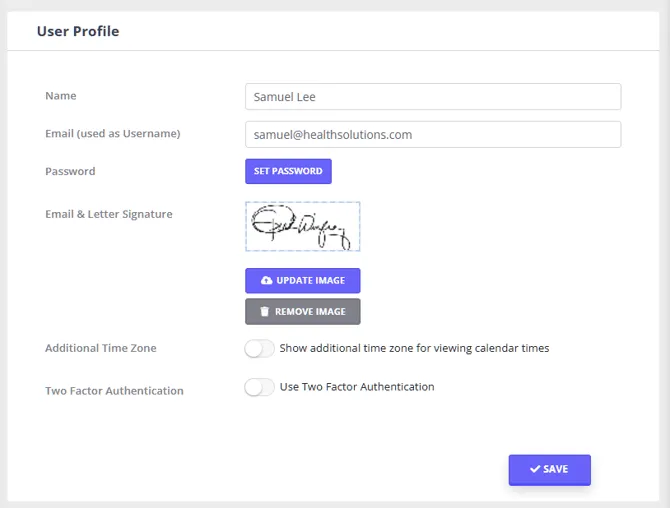
- Select User Profile
- Update the email address
- Save changes
Pro Tip: A Zanda account master user or a user with permission to Setup and Confugure Zanda is able to update all user emails via User Menu > Account Settings > Team > Users > User Management.
Frequently Asked Questions
Will my past invoices update with the new logo and business name?
Yes. Invoices pull branding from your current settings. When you view or reprint older invoices, they will display your updated logo and business name.
Do I need to update my telehealth links?
No. Your telehealth links remain the same. The clinic name shown to clients updates automatically when you change your business information.
If I update my Business Name, will my Client Portal link change too?
Not automatically. Your Client Portal link doesn’t update itself when you change your Business Name. The business name your clients see displayed on the portal does update right away, since it’s separate from the link.
If you’d like your Client Portal link to match your new name, you can update it yourself:
- Go to User Menu > Account Settings > Schedule > Client Portal > Access and Settings
- Update the Portal URL Name field with your new preferred link ending
- Click Save Changes
Note that this only changes the last part of your Client Portal link, the part after your Zanda domain. Your Client Portal always stays on a Zanda domain. Your link name also needs to be unique, so you may need to try a couple of options if your first choice is already taken.
Where do Location Notes appear?
Location Notes do not appear on invoices. They are saved on the location and can be included in appointment communication templates when you add the Appointment Location Notes merge field. For text that should appear on invoices, use the Extra Invoice Text field in the location settings.
I’m acquiring an existing clinic that already uses Zanda. Should I create a new Location, or is there a different process, so the previous owner’s invoices keep their original ABN?
Set up a new Zanda account for the new ownership rather than creating a new Location in the existing account. Your Tax ID/ABN is a single account-wide setting in Business Info, not something you can set per Location, so a new Location can’t carry a separate ABN. On invoices where your ABN appears, it reflects your account’s current setting rather than being stored separately per invoice, so a change affects existing invoices too, not just new ones.
Keeping the previous owner’s account as-is, with its original ABN, preserves their historical invoices exactly as they were. Once your new account is set up, you can use our free Copying Data to Another Zanda Account service to bring over the relevant client and appointment data.